Switches are an important part of every network as they connect multiple devices such as computers and laptops with a LAN, enabling these devices to communicate with each other. Also, switches are critical to create a network of shared resources and improve the network’s security and performance.
Cisco is the leading manufacturer of switches, and they come in many sizes and types to meet the requirements of different networks and organizations.
Regardless of which Cisco switch you pick, the configuration is more or less the same, and that's exactly what we're going to talk about in this article. We will show you the step-by-step process to configure your Cisco switches, so read on.
Here is our list of the best network configuration management tools:
- SolarWinds Network Configuration Manager – FREE TRIAL: A powerful tool for enterprise networks, excelling in automated configuration, security enhancements, and efficient change management.
- ManageEngine Network Configuration Manager – FREE TRIAL: Ideal for large-scale network management, featuring advanced automation, and compliance.
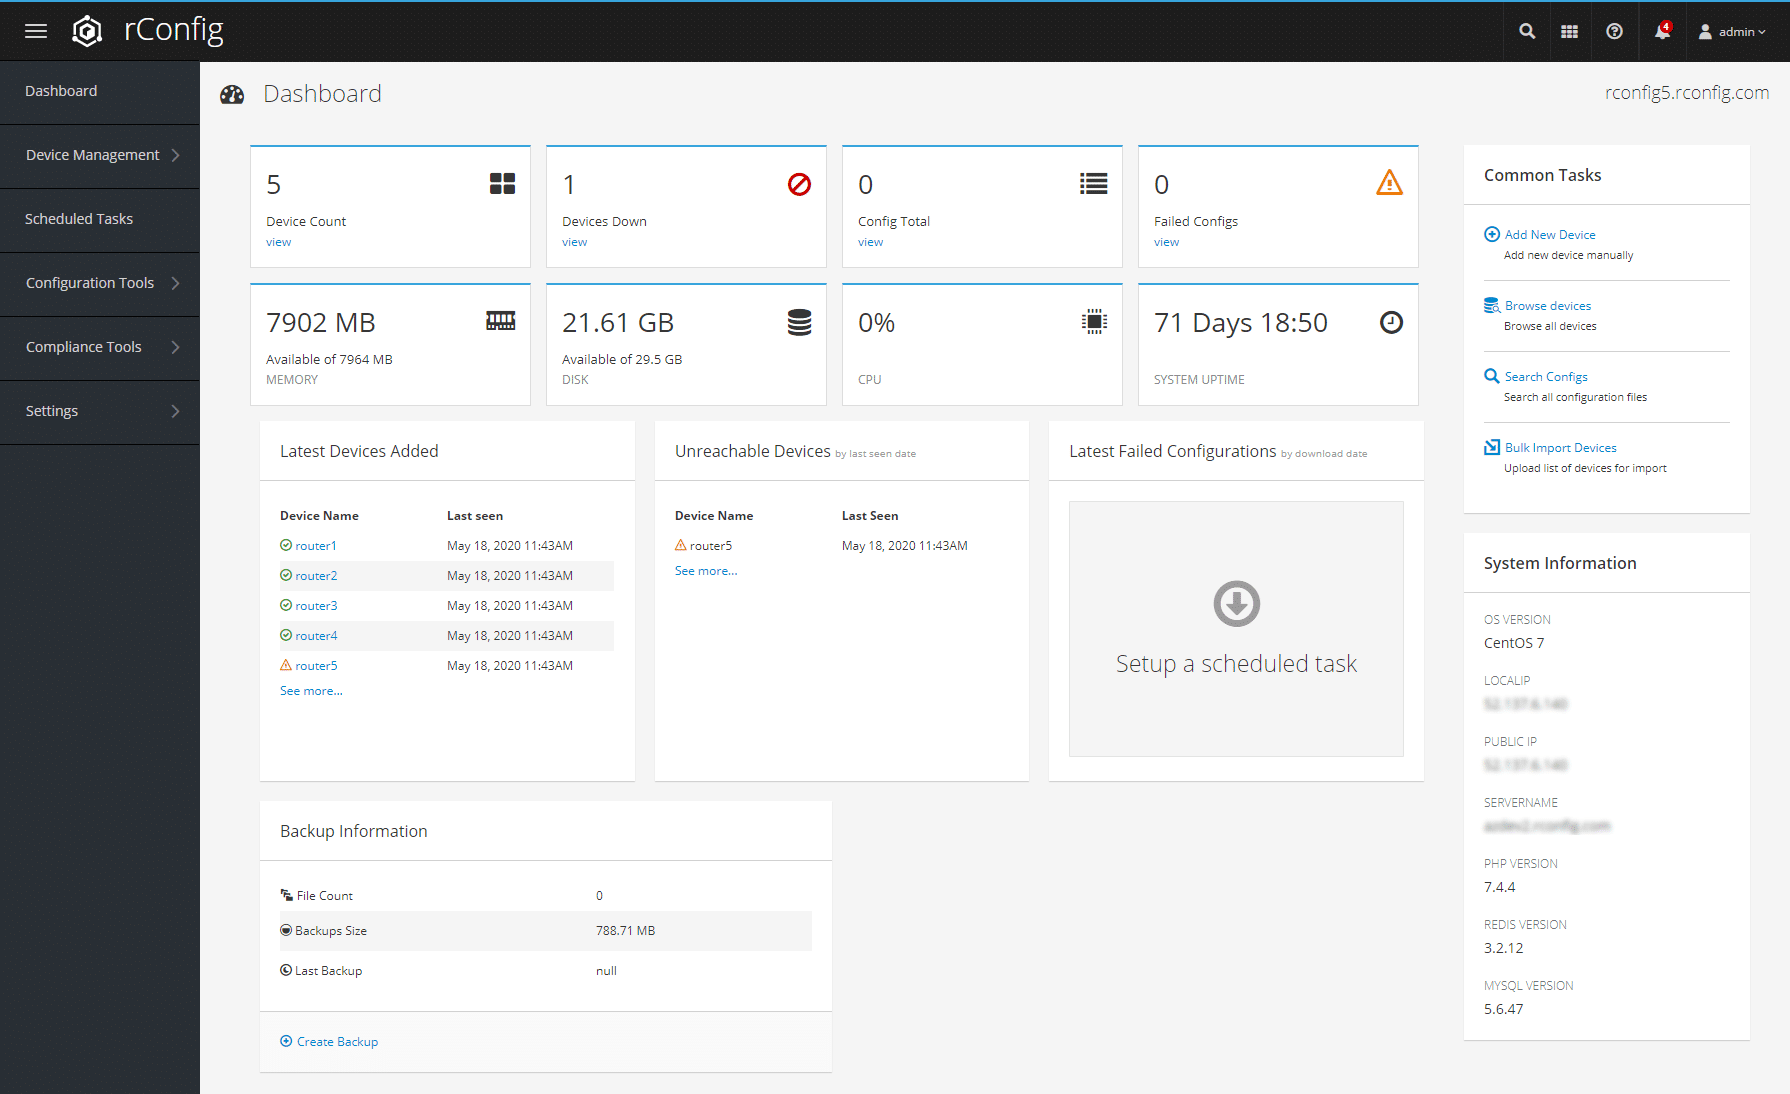
- rConfig: A free, open-source option for Linux, great for custom script creation and basic network configuration management.
Initial Startup
Contrary to what many people think, a network switch is not a power switch.
This is why you must verify the cabling and ensure a power source for your entire network as a part of your initial setup. Once these are in place, the Cisco switch will start up and start the startup process using the default configuration parameters.
Typically, when the switch starts up for the first time, you can see the LEDs on the switch chassis blinking. These lights give you information about the health and status of the switches, and if any of these switches don't blink, it's your clue that all is not right with the switch.
Getting into the Privileged User Mode
After the switch starts, connect it to a system console and observe what's happening on the console.
You'll see much information, especially if your switch is cabled with other devices and switches. At first, it can be overwhelming to see so much information, but the good news is you don't have to analyze or do anything with them.
Just look for the switch's name and see if you're in the user mode. Typically, you'll see something like this before initializing data.
“SWI>”
The mouse will also be right next to the prompt to indicate that you're in user mode. However, to use the device or configure it, you need access to the privileged mode, and to shift to this mode, type “Enable” and press ENTER.
Next, let's move to the configuration part, and before that, note that if you're using the switch for the first time, you'll have the factory default values. Also, you'll see an automated script displaying on the console with all the commands and directions on how you can configure the switch.
The first question is, “Would you like to enter the initial configuration dialog? [yes/no]”
If you answer “yes”, you'll be taken through something like a wizard, but here, it's just a bunch of questions that you'll have to answer. If you say “no”, you have to set up your device. Either way, you'll have to answer this question; otherwise, it will keep repeating itself.
Configuring the Switch Through the Wizard
While most people won't prefer to use the scripted wizard because it is inflexible, let's see what it looks like.
Press “yes” to get into the wizard.
The first question is – “Would you like to enter the basic management setup?“, and press “Y“.
This essential management will only set up the connectivity needed for you to interact with the switch and work. For a more specific configuration of each interface in the system, opt for the extended setup.
Here are the set of questions that you must answer.
- Enter the hostname (which is the name you want to give your switch)
- Enable secret (this is the password that gets encrypted and stored and must switch to privileged access mode later).
- Next, enter the password for the virtual terminal
- The next question will be whether you want to configure SNMP for the switch. Again, you can choose based on your requirements.
- Next, hit Enter and accept all the default values that will be displayed.
- Enter the interfaces that you want to use to connect to the network. This is the name of the network, like say, LAN1
- Next, decide if you want to configure the IP on the device.
- Finally, your console will display the configuration resulting from your inputs.
Run through these values to check if they are accurate. The command prompt gives you three options.
Choose “0” if you want to go back to the command prompt without saving this configuration. Choose “1” to rerun the script, and you will have to answer all the questions again. Ideally, choose this option when you want to change the values you entered earlier. Choose “2” when you want to save this configuration.
When you choose options “0” and “2“, you exit the wizard while “1” will take you back through it.
Moving on, let's see how you can configure without the wizard.
Configuring the Switch Without the Wizard
In this section, let's see how you can configure the Cisco switch from scratch without using the wizard.
As a first step, check if you're in user mode. This is indicated by the greater than symbol. Type “Enable” to go into the privileged mode and the associated password. To exit the select mode at any time, type “disable“, and it will take you back to the user mode.
After getting into the privileged mode, do the following.
Give a Name to Your Switch
Start by giving a name to your switch. Here is a catch. If you type “hostname“, you'll get an error because this command is not supported in the privileged mode. Instead, you'll have to go into something called the “Global Configuration Mode“. To do that, type “configure terminal”. You'll see that the command prompt is now Switch[config]
Now, give a name to your switch by typing “hostname switch_name“. Again, this will have a global impact on the network as the entire setup will know what this switch is called.
To exit from this global configuration mode, type “end“.
Choose Between a Layer 2 and a Layer 3 Switch
Your switch can operate in layer 2 or 3 of the OSI model. If it operates in layer 3, then it also doubles up as a router. But if you choose just a layer 2 switch, it is more likely to remain and operate only as a switch. So let’s now stick with the layer 2 functionality.
To check which layer your switch operates in, type “show IP route“. For example, if your controller is configured to be in layer 2, it will not show you a routing table; instead, it will display an ICMP redirect cache.
Setting up Remote Management
While configuring, it makes sense to set up remote management on this switch, especially if you want to manage it in the future remotely.
To set up remote management, you have to assign an IP address, even if your device will operate only as a layer 2 switch.
Start by going into your interface to set this IP address. Type “interface network_name“, where network_name is the name of your network. This will change the prompt to “switch_name[config-if]”
Now, assign the IP address with the command “IP address 10.125.367.9“. Of course, change the IP address to the one you want, as this is just a placeholder. You must always follow this IP address with a subnet mask as well.
Next, you must also configure a default gateway to make communication easy between this device and others, even if the others are not in the same network. To configure this gateway, you need to switch back to the global configuration mode.
So, exit from the interface configuration and type “IP default-gateway 100.4.7.89“. Again, the default gateway values here are a placeholder and change according to a local or global router, as the case may be in your network.
Saving your Configuration
Now that you've done all the configuration, it's time to save it. The command for that is, “copy running-config startup-config filename“. The filename is the file where you want to store these config values.
What we're essentially doing here is copying the configuration from the RAM to a non-volatile device.
When you reload this device, this configuration will still be available for you. To check, type “show startup-config“, and you'll see the values you saved earlier.
Thus, this is how you configure a Cisco switch using a command prompt. As you can see, it is long and tedious and is not for everyone. Besides taking considerable time and effort, it also requires advanced technical expertise.
An easier option is to use third-party tools to mask all the complexities involved with a user interface. Then, all you have to do is enter the details on the interface, and the configuration happens automatically.
Our methodology for selecting network configuration management tools:
- Tools should minimize manual efforts in network configuration and offer robust automation.
- Efficient management of large networks and support for a variety of network devices.
- Essential for protecting network configurations and meeting industry standards.
- A user-friendly interface is crucial for efficient network management.
- The tool should offer value for money and reliable customer support.
Let's look at some of these tools.
1. SolarWinds Network Configuration Manager – FREE TRIAL
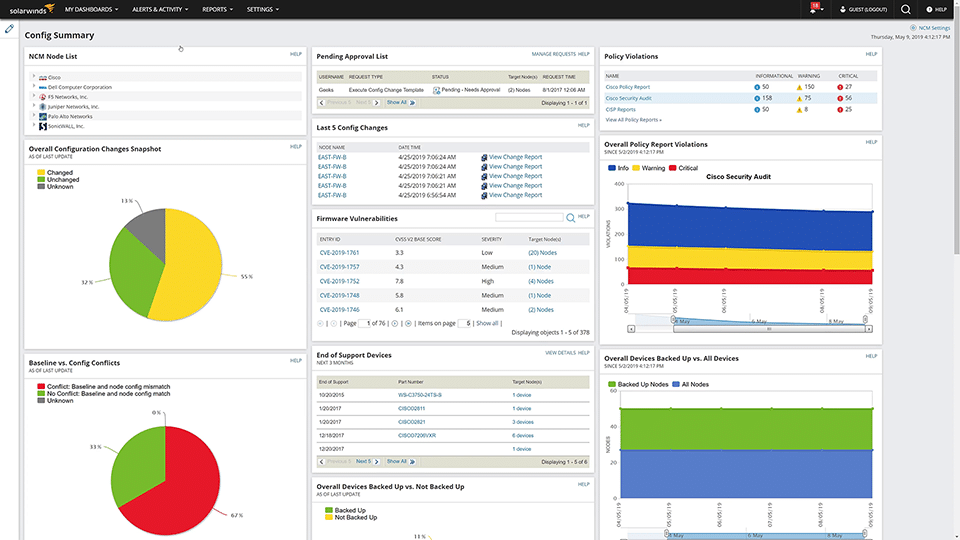
The SolarWinds Network Configuration Manager handles configurations and automates change management to ensure that you have a secure and reliable network and devices.
Key Features:
- Reduces configuration errors as it uses standardized device configurations
- Automates the deployment process for ease of use
- It comes with advanced monitoring and alerting features to ensure that your configurations are not changed by unauthorized personnel
- Takes regular backups of your configuration
- Manages changes and uses a workflow to approve changes so everyone involved knows who has changed what.
- Boots network security by using automation to identify threats.
- Complies with leading audits
- Standardizes recurring configurations across similar devices
- Simplifies the entire process of configuration and setup
- Automatically identifies iOS vulnerabilities and upgrades the firmware as needed
- Supports multiple protocols
Why do we recommend it?
We recommend SolarWinds Network Configuration Manager for its exceptional ability to streamline network configuration management, particularly for medium to large enterprises. Its automated deployment and standardization of configurations significantly reduce errors and enhance overall network security.
Who is it recommended for?
SolarWinds Network Configuration Manager is recommended for system administrators and network technicians in medium to large enterprises. Its advanced features and automation capabilities make it an excellent choice for organizations needing robust and efficient network configuration management.
Pros:
- Built for medium to enterprise-size networks, with features designed to streamline troubleshooting and revert config settings quickly
- Can automatically discover new devices on the network and provide templated health reports for immediate insights upon installation
- Offers configuration management, allowing teams to quickly backup and restore changes that may have impacted performance
- Can monitor settings for unauthorized changes and specific teams or managers
Cons:
- Not designed for home networks, this is an enterprise tool built for system administrators and network technicians
SolarWinds Network Configuration Manager starts at $1,687. Click here for a fully functional 30-day free trial.
2. ManageEngine Network Configuration Manager – FREE TRIAL
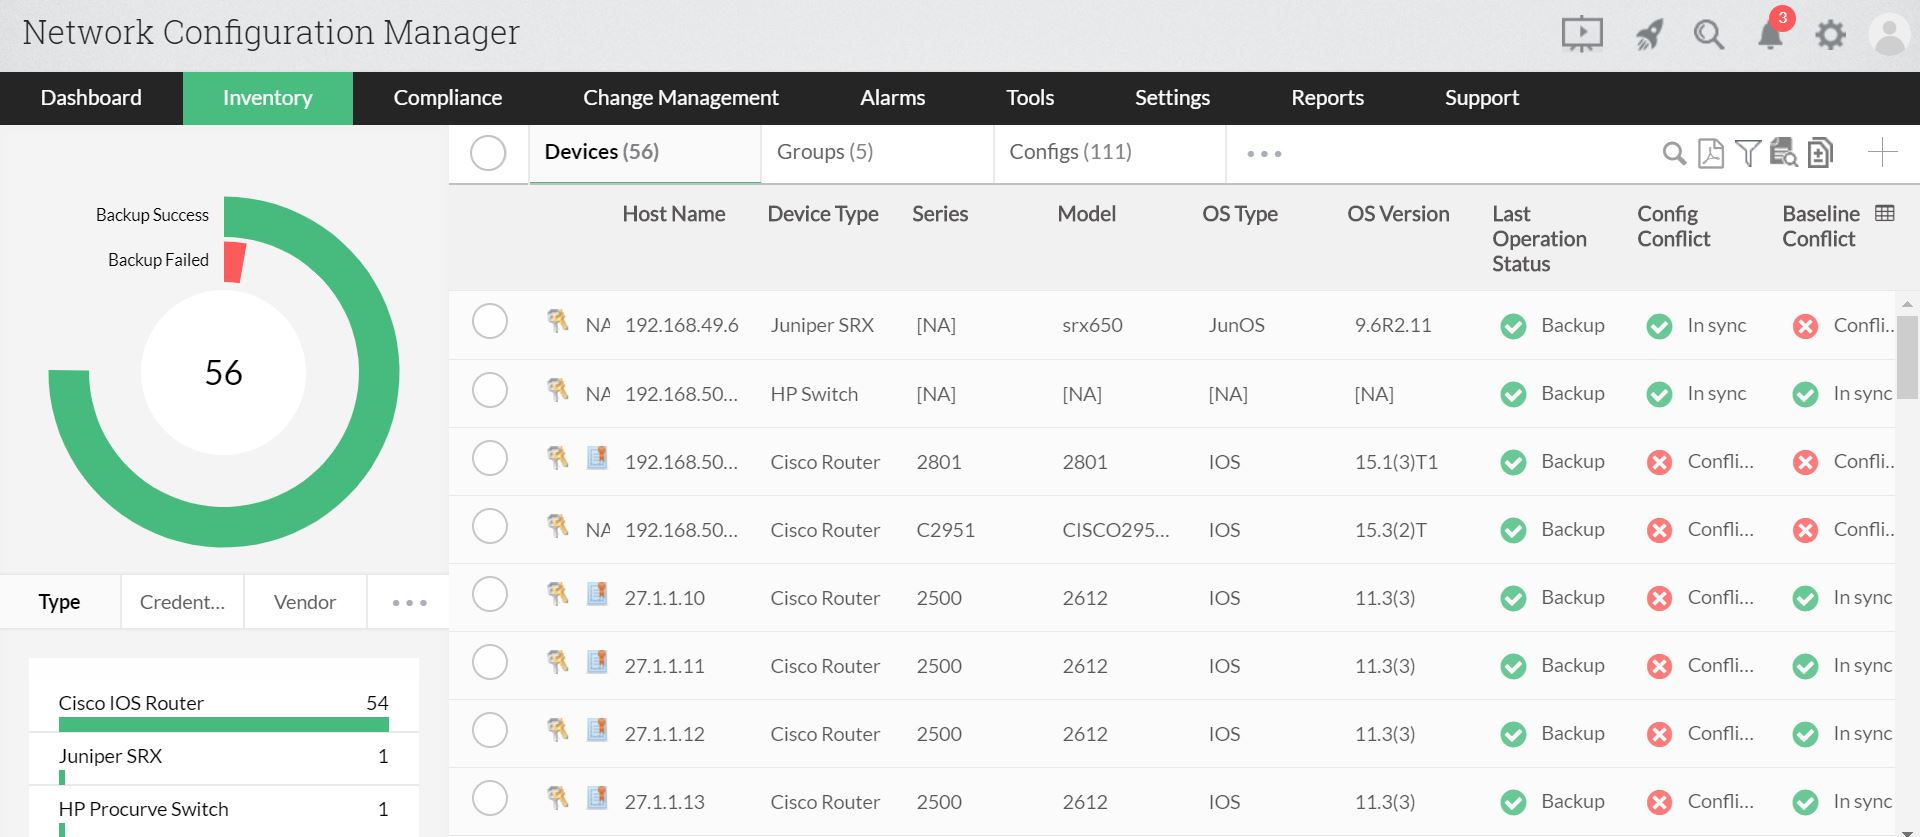
ManageEngine Network Configuration Manager is an advanced configuration management system for switches, routers, firewalls, and other devices on the network, as it can automate the entire process and manage it throughout the device's lifecycle.
Key Features:
- Schedules configuration backups and implements them automatically
- Tracks user activity on configuration files for easy accountability
- Enables you to compare changes to the versions of configuration files through a web GUI
- Sends notifications in real-time
- Prevents unauthorized changes to your configuration files
- Checks for violations and applies remedies immediately
- Complies with all major standards
- Allows you to apply configuration changes in bulk to similar devices, thereby saving time and effort
- Scans devices for firmware vulnerabilities and upgrades the same to reduce these threats
- Manages configurations well in a distributed environment
- Scales well to meet the needs of enterprises.
- Enables you to search through configurations to find what you want
- Generates in-depth reports
- Makes it easy to rollback configurations as needed
- Provides an inventory of devices for easy identification and management
Why do we recommend it?
We recommend ManageEngine Network Configuration Manager for its comprehensive capabilities in automating and managing network configurations across various devices. Its ability to schedule and implement configuration backups automatically, along with real-time tracking of user activity and changes, makes it a robust tool for ensuring network integrity and security.
Who is it recommended for?
ManageEngine Network Configuration Manager is ideal for IT professionals in medium to large enterprises who need an advanced tool for managing configurations across a wide range of network devices. Its features are particularly beneficial for organizations with complex networks requiring efficient management and compliance with major standards.
Pros:
- Offers firmware vulnerability management alongside configuration monitoring
- Can immediately alert when changes occur inventory or configuration changes are made
- Can neatly organize networks, devices, and infrastructure to support multi-site use
- Offers access control to help enforce compliance standards
- Available for Windows, Mac, and Linux systems
Cons:
- Is a full-service monitoring platform that can take time to fully explore all options available
Start by downloading their 30-day free trial.
3. rConfig

If you're looking for a free configuration manager to see what it looks like to have automated configuration and how it can ease your work, consider rConfig. This open-source configuration manager allows a ton of flexibility for users to create their custom scripts for managing configurations.
Key Features:
- Takes snapshots of your routing table, arp tables, and more to give you an idea of what's happening in your network
- Provides extensive statistics about your device's performance at any time
- Comes with simple automation capabilities that can significantly ease your work
- Uses advanced security to protect your files and devices
- Highly extensible and customizable
- Provides extensive alerts and notifications
- Simple and well-developed GUI
Why do we recommend it?
We recommend rConfig for its simplicity and flexibility as an open-source configuration manager. It is particularly useful for those new to automated configuration management, offering basic automation capabilities, advanced security, and the ability to create custom scripts, all at no cost.
Who is it recommended for?
rConfig is recommended for system administrators and IT professionals, especially in smaller organizations or those with limited budgets, looking for a free, open-source solution. It's ideal for Linux environments where users can benefit from its extensibility and customization options.
Pros:
- Completely free and open source for Linux systems
- Offers continuous monitoring and autodiscovery of new devices and hosts
- Can push new configurations as well as take backups of each device’s settings
Cons:
- Lacks paid support, bugs and issues may go unresolved for long periods of time
- Would like to see better visualization options for device relationships
This software is 100% FREE if you're using the Personal version. It costs 499 Euros per year for the Gold version and 999 Euros for the Professional one. Click here to download rConfig.
Conclusion
To conclude, configuring Cisco network switches is simple if you're adept in using the command prompt and have experience in handling configurations.
But if you're looking to save some time and effort in configurations, consider using third-party tools like SolarWinds Network Configuration Manager, and ManageEngine Network Configuration Manager.


